Integrating Ethereum Blockchain Into Android App: Using Web3J
Blockchain technology has been growing rapidly in recent years, and more businesses and developers are exploring ways to integrate blockchain into their applications. Android developers are no exception, and integrating Ethereum blockchain into Android apps can offer numerous benefits, such as decentralization, immutability, and transparency.
In this article, we will explore how to integrate Ethereum blockchain into Android apps using the Web3j library. We will demonstrate how to connect to the blockchain node, create an Ethereum wallet, retrieve the wallet address, check the balance, and send funds using the Web3j library. To connect to the blockchain node, we will use the Infura API, which allows us to interact with the Ethereum network without running our own node.
By following this tutorial, you will gain a solid understanding of how to integration Ethereum blockchain in Android apps using the Web3j library. You will learn how to interact with the Ethereum network and how to create secure, decentralized applications that leverage the power of blockchain technology.

To integrate Ethereum blockchain into our Android app, we’ll need to take a few initial steps. The first of these is to set up our connection to Infura API, which will allow us to interact with the Ethereum network without running a full node on our own servers.
Infura
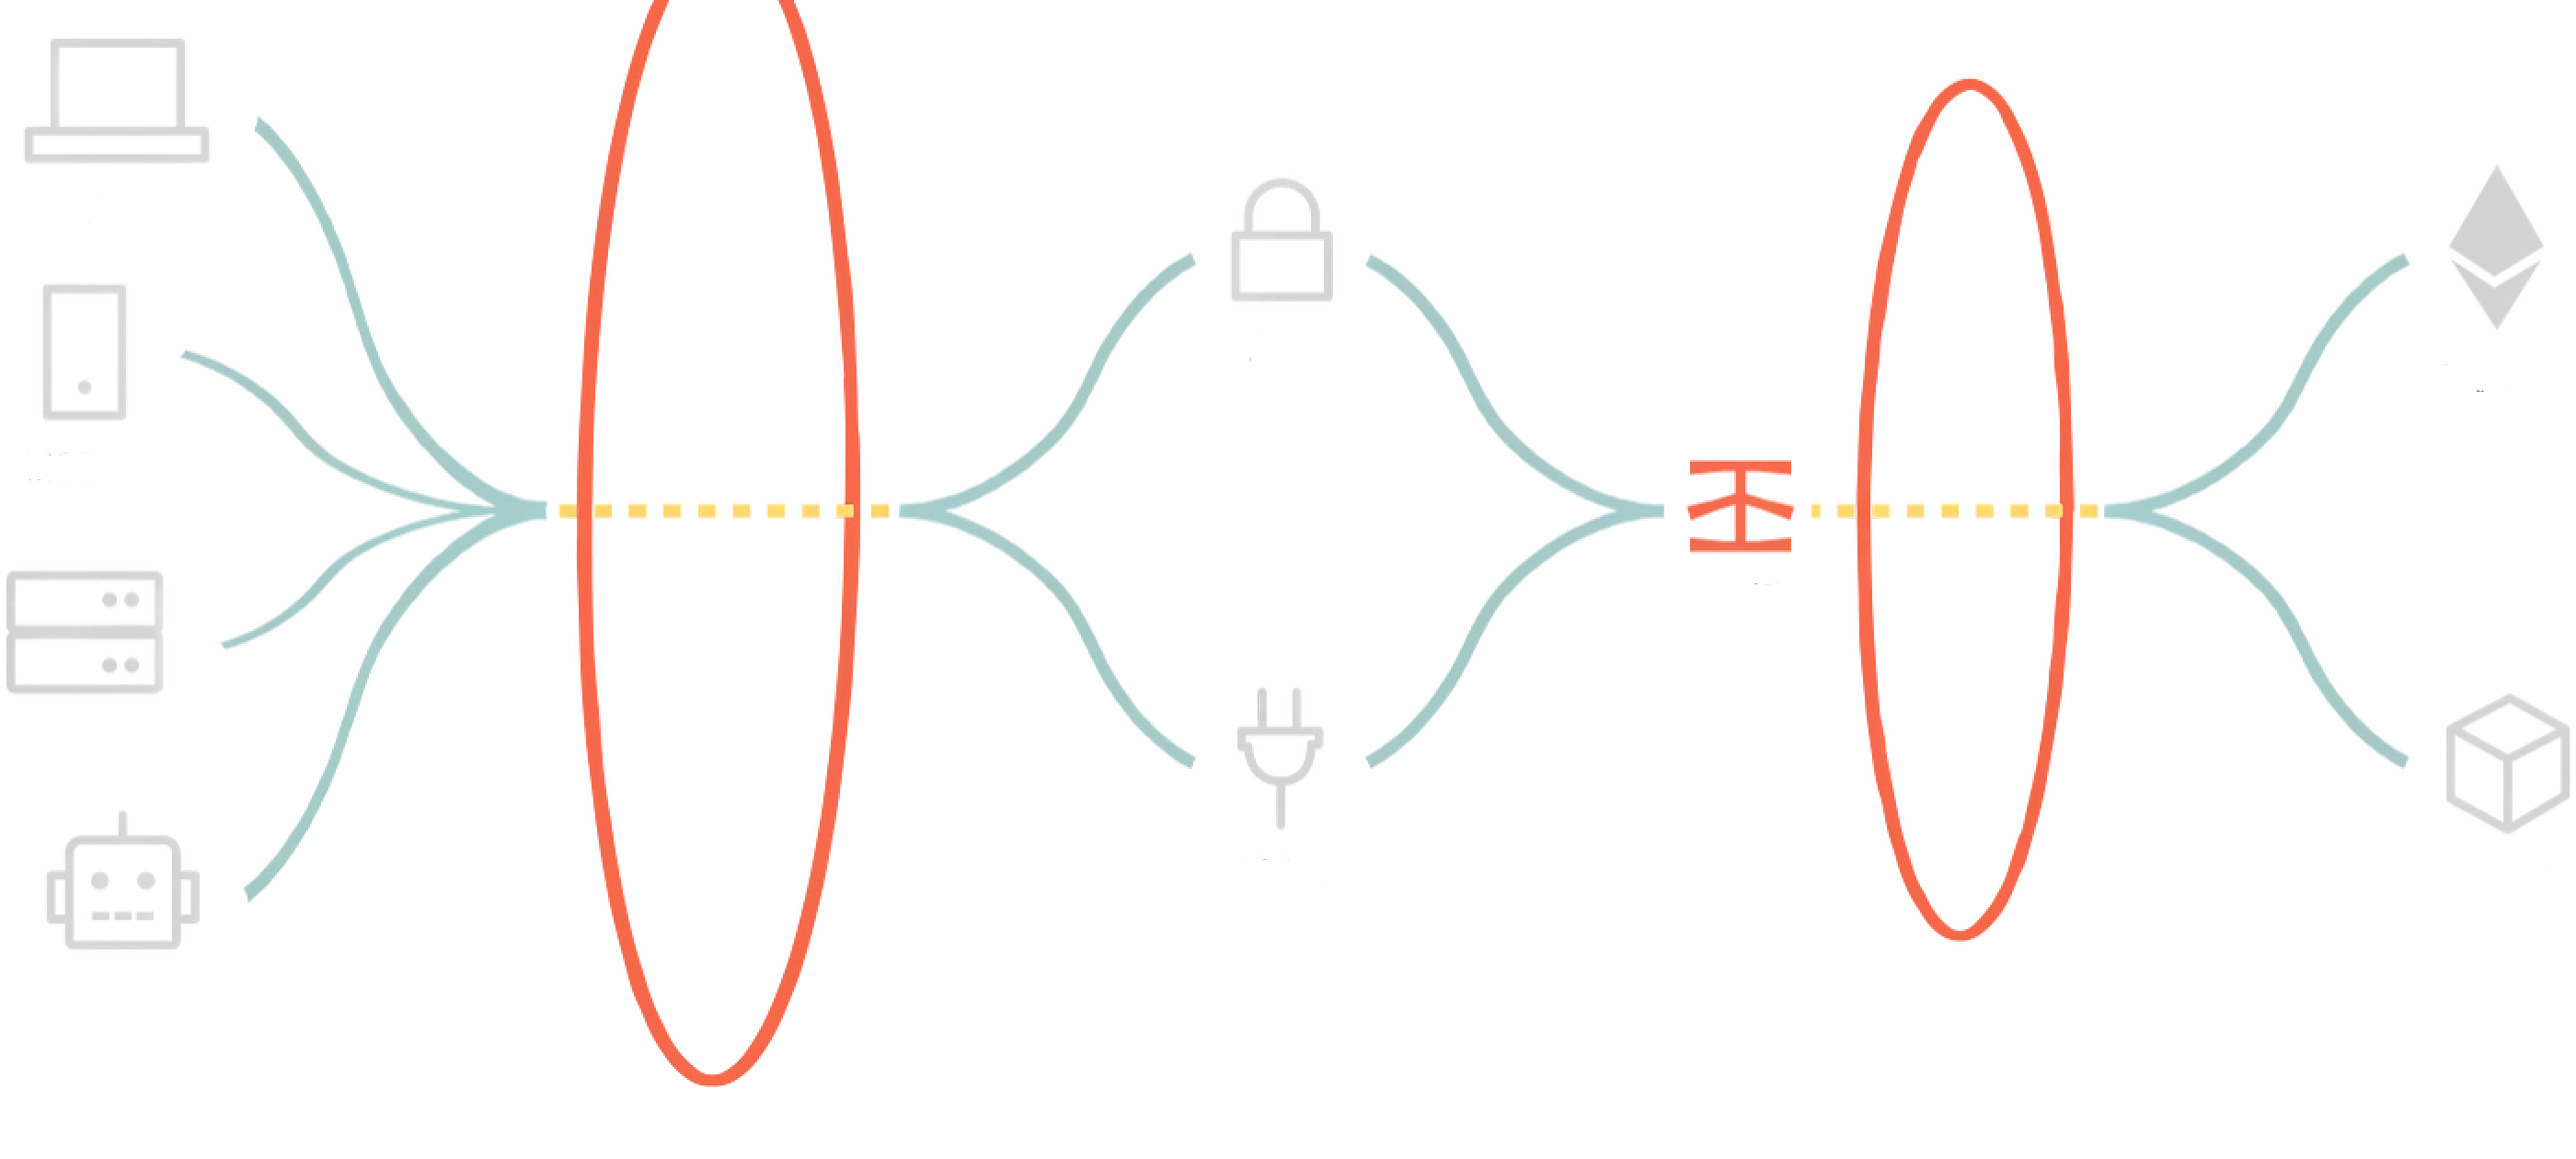
Infura provides a convenient way for developers to interact with the Ethereum blockchain without the need to maintain their own local node. With Infura, developers can use its API to connect to an Ethereum network and carry out various operations, such as reading and writing to the blockchain, querying smart contract data, and more. To access Infura’s API, developers need an API key, which allows them to securely communicate with the Ethereum blockchain.
Creating an Infura API key:
- Click on the Infura website link below to start creating an Infura API key.
Ethereum API | IPFS API Gateway | ETH Nodes as a Service | Infura
Infura development suite provides instant,scalable API access to the Ethereum and IPFS networks.

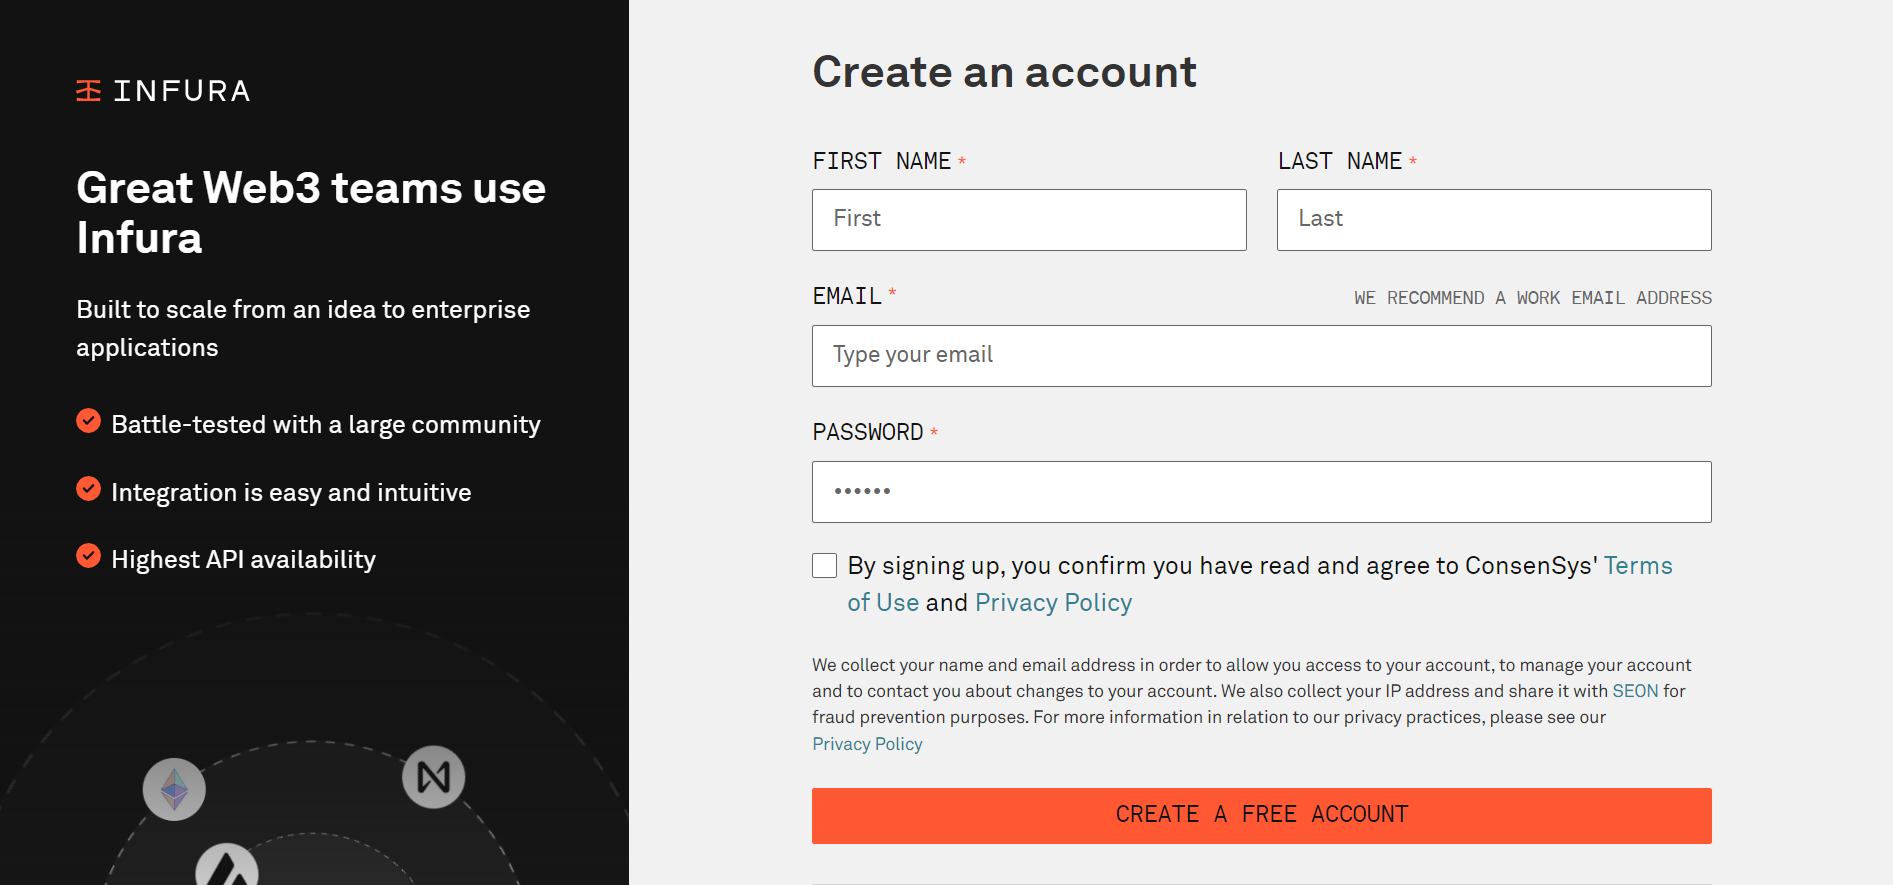
1.Create an account.
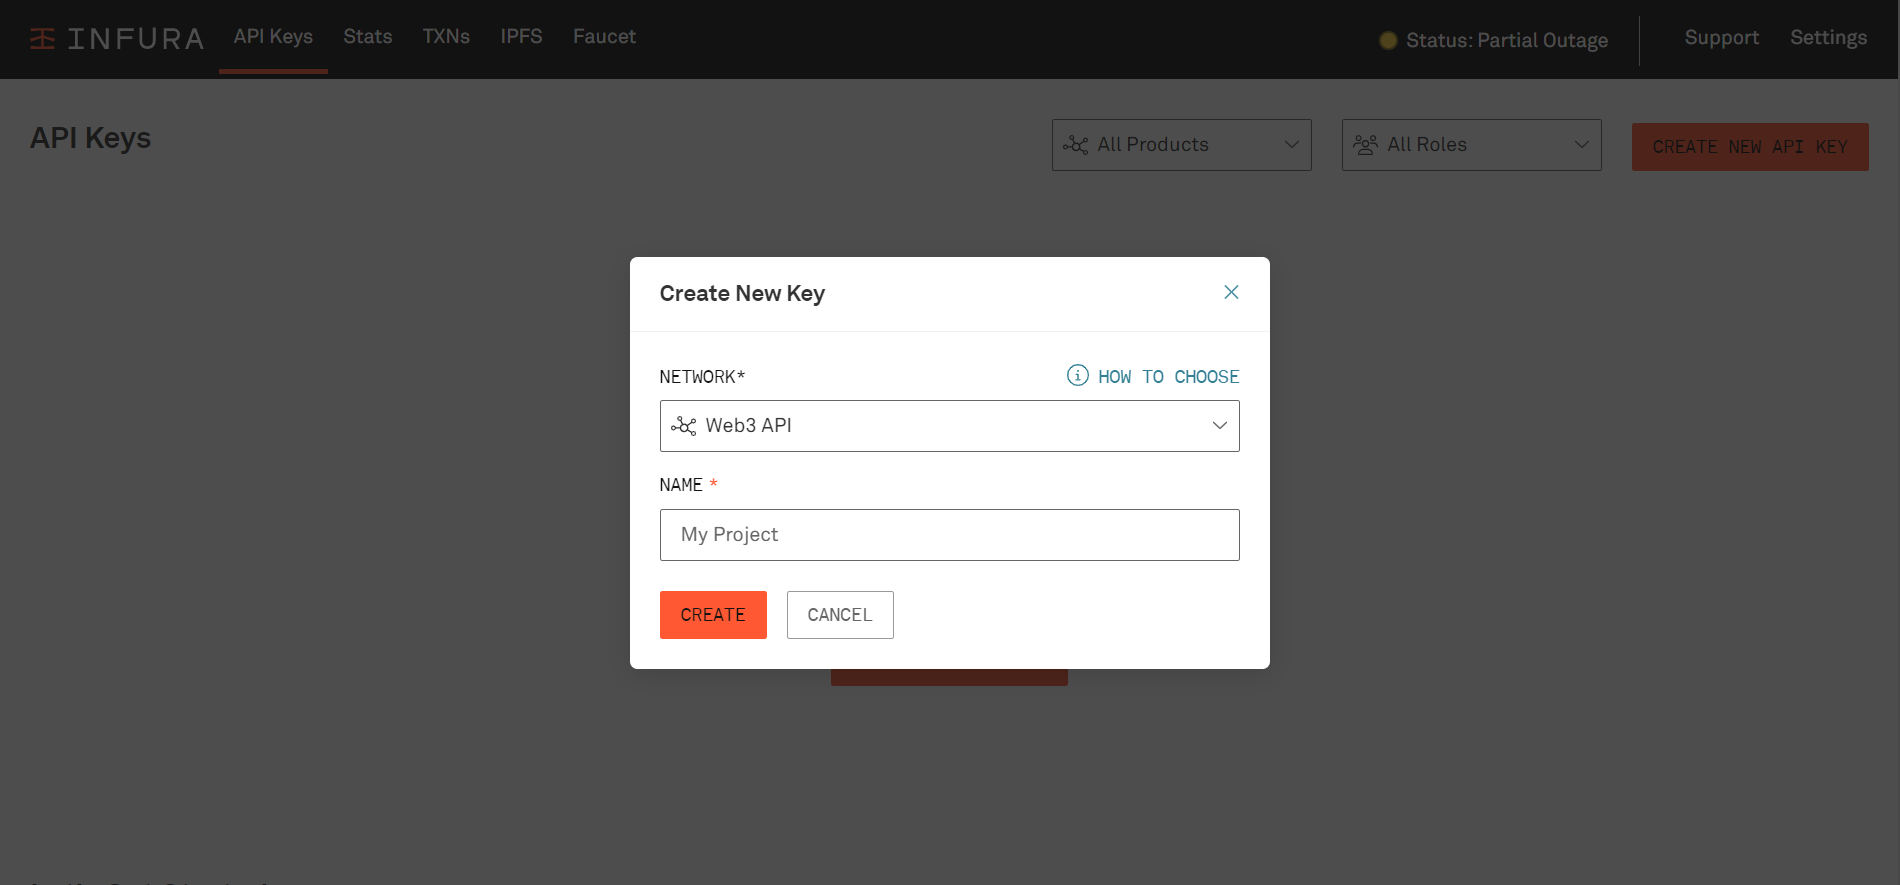
2.Create a project.
3.Get the API key.
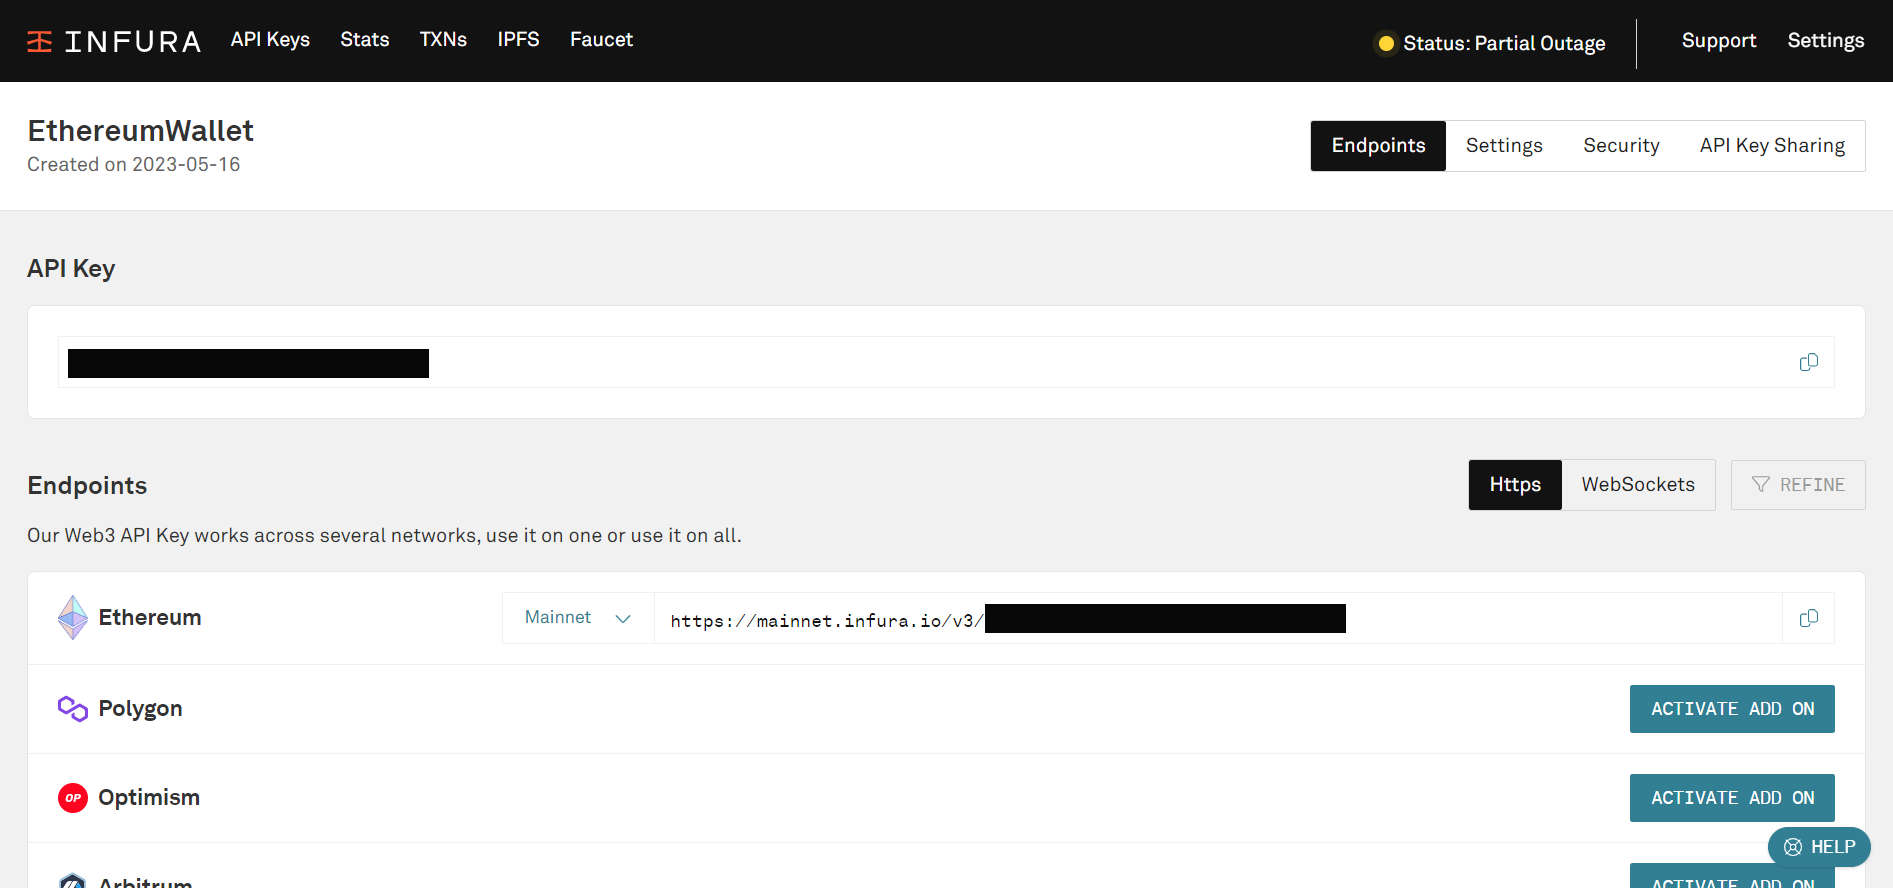
Once you have created your project, you can obtain the endpoint URL, which is used to send API requests from your decentralized apps and serves as the primary connection point with the Ethereum blockchain. It is important to note that the endpoint URL may change after obtaining a new key, so be sure to update it accordingly.
-After setting up the connection to Infura API, the next step is to implement Web3j in your Android app.
Web3j
Web3j is a Java and Android library that provides a simple and easy-to-use interface for working with the Ethereum network and smart contracts. It is a lightweight, highly modular, and reactive library that enables developers to interact with Ethereum clients.
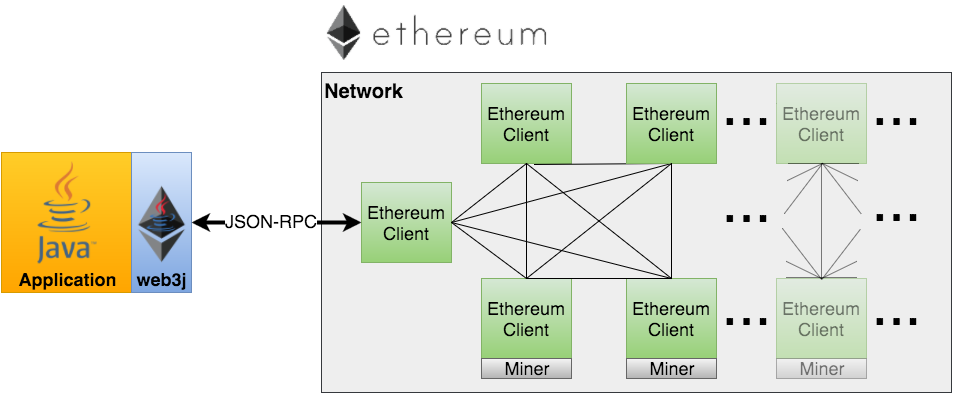
To get started with Web3j, you’ll need to add the Web3j library to your project’s dependencies. Once you’ve added the library, you can use the Web3j API to connect to the Ethereum network, load smart contracts, and execute transactions.
Add dependencies.
To download the third-party library web3j , you need to add its dependency to the build.gradle file in the app module and then synchronize the file.
dependencies {

    implementation 'androidx.core:core-ktx:1.10.0'
    implementation 'androidx.lifecycle:lifecycle-runtime-ktx:2.6.1'
    implementation 'androidx.activity:activity-compose:1.7.1'
    implementation "androidx.compose.ui:ui:$compose_ui_version"
    implementation "androidx.compose.ui:ui-graphics:$compose_ui_version"
    implementation "androidx.compose.ui:ui-tooling-preview:$compose_ui_version"
    implementation 'com.google.android.material:material:1.8.0'

    implementation 'androidx.compose.material:material:1.4.2'
    testImplementation 'junit:junit:4.13.2'
    androidTestImplementation 'androidx.test.ext:junit:1.1.5'
    androidTestImplementation 'androidx.test.espresso:espresso-core:3.5.1'
    androidTestImplementation "androidx.compose.ui:ui-test-junit4:$compose_ui_version"
    debugImplementation "androidx.compose.ui:ui-tooling:$compose_ui_version"
    debugImplementation "androidx.compose.ui:ui-test-manifest:$compose_ui_version"

    //Web3J
    implementation 'org.web3j:core:4.1.0-android'

}
Let's Begin Our Journey: Building Ethereum Applications with Web3J
Now that we have successfully generated an Infura API key and integrated Web3J into our project, we are all set to begin our exciting journey. It is important to note that this article will primarily focus on the backend implementation aspects and exclude the UI-related components. But don’t worry! At the end of the article, you will find a GitHub repository that includes comprehensive code examples. These example not only demonstrate how to connect to the Ethereum network, create a wallet, and retrieve balance using Web3J, but they also incorporate UI elements to provide a more complete understanding of the implementation process. let’s start by adding the necessary permissions.
Add app permissions.
To perform transactions and retrieve balance, an internet connection is required. Therefore, it is necessary to include the internet permission in the AndroidManifest.xml file to enable the app to connect to the internet seamlessly.
<?xml version="1.0" encoding="utf-8"?>
<manifest xmlns:android="http://schemas.android.com/apk/res/android"
    xmlns:tools="http://schemas.android.com/tools">

    //Internet Permission
    <uses-permission android:name="android.permission.INTERNET" />

    <application
        android:allowBackup="true"
        android:dataExtractionRules="@xml/data_extraction_rules"
        android:fullBackupContent="@xml/backup_rules"
        android:icon="@mipmap/ic_launcher"
        android:label="@string/app_name"
        android:roundIcon="@mipmap/ic_launcher_round"
        android:supportsRtl="true"
        android:theme="@style/Theme.EthereumWallet"
        tools:targetApi="31">
        <activity
            android:name=".MainActivity"
            android:exported="true"
            android:theme="@style/Theme.EthereumWallet">
            <intent-filter>
                <action android:name="android.intent.action.MAIN" />

                <category android:name="android.intent.category.LAUNCHER" />
            </intent-filter>
        </activity>
    </application>

</manifest>
Integrating Ethereum into our project by following these steps:
Step 1: Begin by integrating the Bouncy Castle crypto-package, which incorporates crucial cryptographic algorithms for enhanced blockchain security.
Step 2: Next, establish a connection to an Ethereum Node, enabling seamless communication with the Ethereum network.
Step 3: Implement the creation of an Ethereum wallet.
Step 4: Enable the functionality to send funds by constructing. Specify the recipient address, amount, and gas parameters to ensure secure transfers.
Step 5: Finally, retrieve real-time balance information of an Ethereum wallet, allowing us to monitor account funds dynamically.
By following these steps, we will successfully integrate Ethereum into our project and leverage its capabilities for blockchain-powered functionality.
Note:
If you decide to make requests on the main thread, it is important to use the StrictMode class. This allows you to access the network directly on the main thread, ensuring proper communication and avoiding potential issues with network operations.
private fun strictMode(){
        val policy = ThreadPolicy.Builder().permitAll().build()
        StrictMode.setThreadPolicy(policy)
  }
Additionally, before we proceed with the steps, let’s add a method called showToast. This method will accept a string parameter, which will be the message displayed in a toast notification when we need to show results to the user.
private fun  showToast(message:String){
        Toast.makeText(this, message, Toast.LENGTH_LONG).show()
}
1.BouncyCastle.
The Bouncy Castle crypto-package is essential for ensuring robust blockchain security as it implements the necessary cryptographic algorithms. In particular, for Web3J integration, we require the ECDSA algorithm, which is responsible for secure digital signatures. This algorithm is implemented by the security provider within the Security class, which centralizes security properties and manages different cryptographic providers, such as those for DSA, RSA, MD5, and SHA-1.
//set up the security provider
  private fun setupBouncyCastle() {
      val provider = Security.getProvider(BouncyCastleProvider.PROVIDER_NAME)
          ?: // Web3j will set up a provider when it's used for the first time.
          return
      if (provider.contains(BouncyCastleProvider::class.java)) {
          return
      }
      //There is a possibility  the bouncy castle registered by android may not have all ciphers
      //so we  substitute with the one bundled in the app.
      Security.removeProvider(BouncyCastleProvider.PROVIDER_NAME)
      Security.insertProviderAt(BouncyCastleProvider(), 1)
  }
2.Connecting to an Ethereum Node.
To establish a connection to an Ethereum network, invoke the build() method provided by Web3j. This method requires an HttpService parameter, which specifies the URL of the Ethereum network you want to connect to.
URL: Copy the endpoint URL from Infura. This URL will serve as the endpoint for connecting to the Ethereum network through Infura’s infrastructure.
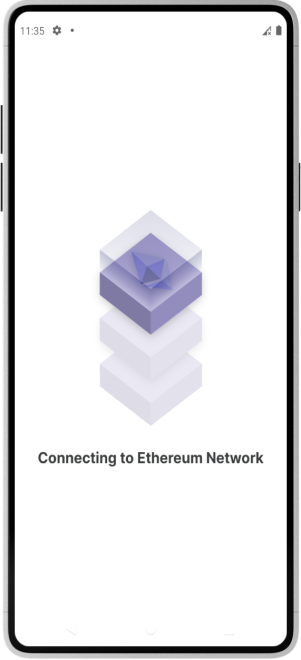
Upon invocation, Web3j will attempt to connect to the specified Ethereum network using the provided URL. If the client version retrieved from the network has no errors, the connection will be successful, granting the user access to the Ethereum network. However, if there are any errors or issues with the client version, the connection may be restricted or denied. To ensure future access and utilization store the Web3j object in a variable for future use. This object will be needed to perform transactions.
//connect to Ethereum node
  private fun connectToEthNetwork() {
       web3 =
          Web3j.build(HttpService("https://mainnet.infura.io/v3/API Key"))
      try {
          //if the client version has an error the user will not gain access if successful the user will get connected.
          val clientVersion = web3.web3ClientVersion().sendAsync().get()
          if (!clientVersion.hasError()) {
              showToast("Connected")
          } else {
              showToast(clientVersion.error.message)
          }
      } catch (e: Exception) {
          showToast(e.message.toString())
      }
  }
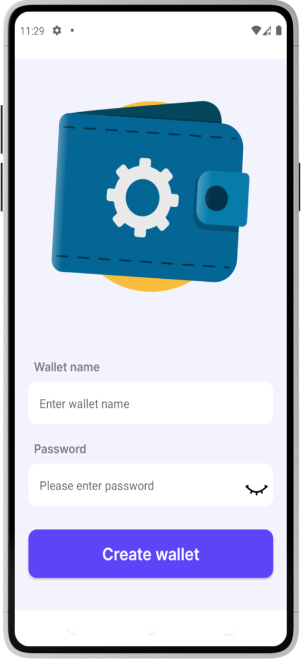
3.Creating an Ethereum wallet.
Working with Ethereum wallets involves providing a password and file path. The WalletUtils class provides utility functions for working with Wallet files. We will use its methods which are :
-The generateLightNewWalletFile() method generates an Ethereum wallet and corresponding JSON file by providing the desired password and file path.
-The loadCredentials() method takes in the password and file path of a wallet. It allows us to obtain the credentials associated with the specified wallet's path and password.
-getAddress() method on the credentials object, we can retrieve the wallet address associated with the Ethereum wallet.
These methods in the WalletUtils class enable us to manage Ethereum wallets effectively, providing access to credentials, generating new wallets, and obtaining wallet addresses.
-Let's start by Creating a File for Storing Ethereum Wallet Details
To store the wallet details, we will create a file. Before creating the file, it’s important to check if the directory exists. If the directory does not exist, we can create it using the mkdirs() method. This ensures that the necessary directory structure is in place to securely store the wallet file.
private fun createWalletFile(name: String){

     val file = File(this.filesDir.toString() + name) // the Ethereum wallet location

      //create the directory if it does not exist
     if (!file.exists()) {
          file.mkdirs()
          showToast("Directory Created")
      } else {
         showToast("Directory already created")
      }
  }
After creating the file to store the Ethereum wallet details, we can proceed to generate an Ethereum wallet using the generateLightNewWalletFile() method. To do this, we need to provide the file created and the password as parameters to the method. Once the wallet is generated, we can retrieve the associated credentials using the loadCredentials() method and store them in a variable. These credentials will be needed in the next step, which is sending funds.
private fun createWallet(file: File, password: String) {
   try {
        // generating the ethereum wallet
        val walletName = WalletUtils.generateLightNewWalletFile(password, file)
        credentials = WalletUtils.loadCredentials(password, "$file/$walletName")
        showToast("Wallet Created")
    } catch (e: Exception) {
        showToast("failed: ${e.message}")
    }
}
4.Sending Funds.
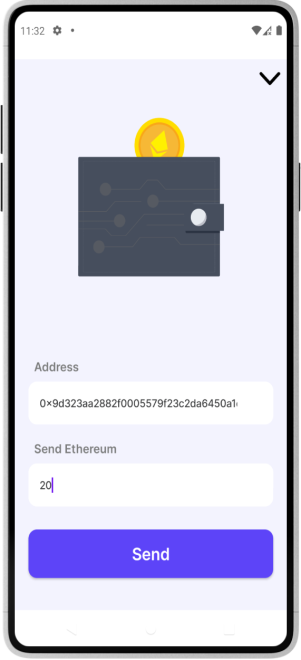
To initiate a fund transfer, we utilize the sendFunds() method, which requires several parameters. These parameters include the web3j object, representing our connection to the Ethereum network, the wallet credentials of the sender, the destination address where the funds will be transferred, the amount of funds to be sent, and the unit in which the value is specified. By providing these parameters, we can execute the transaction and transfer the specified amount of funds to the intended recipient.
private fun makeTransaction(address:String, amount:Double) {
       // get the amount of eth value the user wants to send
       try {
           val receipt = Transfer.sendFunds(
               web3,
               credentials,
               address,
               BigDecimal.valueOf(amount),
               Convert.Unit.ETHER
           ).send()
           showToast("Transaction successful: ${receipt.transactionHash}")
       } catch (e: Exception) {
           showToast("low balance")
       }
}
During the process of making a transaction on the Ethereum blockchain, it’s important to note that a gas value will be incurred. Gas represents the fee that is required to successfully execute a transaction on the Ethereum network. This fee is necessary to compensate the network participants for their computational efforts and to prioritize transactions within the blockchain.
5.Retrieving wallet balance.
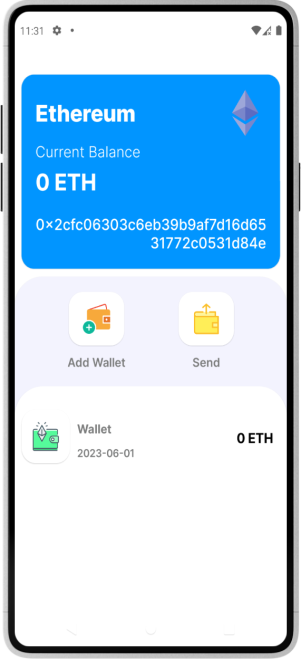
To obtain the balance of a wallet, you need to use the ethGetBalance method and pass the wallet’s address along with the DefaultBlockParameterName.LATEST parameter. This method is available in the EthGetBalance class, and you can retrieve the balance by invoking its getBalance() method.
//get wallet's balance
  private fun retrieveBalance(walletAddress: String) {
       try {
          val balanceWei = web3.ethGetBalance(
              walletAddress,
              DefaultBlockParameterName.LATEST
          ).sendAsync().get()
          showToast("your balance is:${balanceWei.balance}")
      } catch (e: Exception) {
          showToast("Balance Failed")
      }
  }


